Over this guide I’ll be looking into how to host a site on EC2 using SQLite3 as a database and how to route the site to your domain. This is most everything you’ll need to host a site on amazon, however know that there are two standard practice things I ignored that you may want to consider as your site grows.
1 ) EC2 is best used with load balancing, which will distribute your data and use across multiple EC2 instances. In this instance, I won’t be looking into this however you may want to if you’re concerned your site could grow to be bigger.
2 ) I won’t be going over more fully featured databases, such as those you’d use in a larger site. This guide is targeted more towards a personal site or a blog, which likely won’t have substantial server needs. Additionally many people use apps like Chief to manage their AMI or packages, but for the sake of learning and not obfuscating details I won’t be doing this.
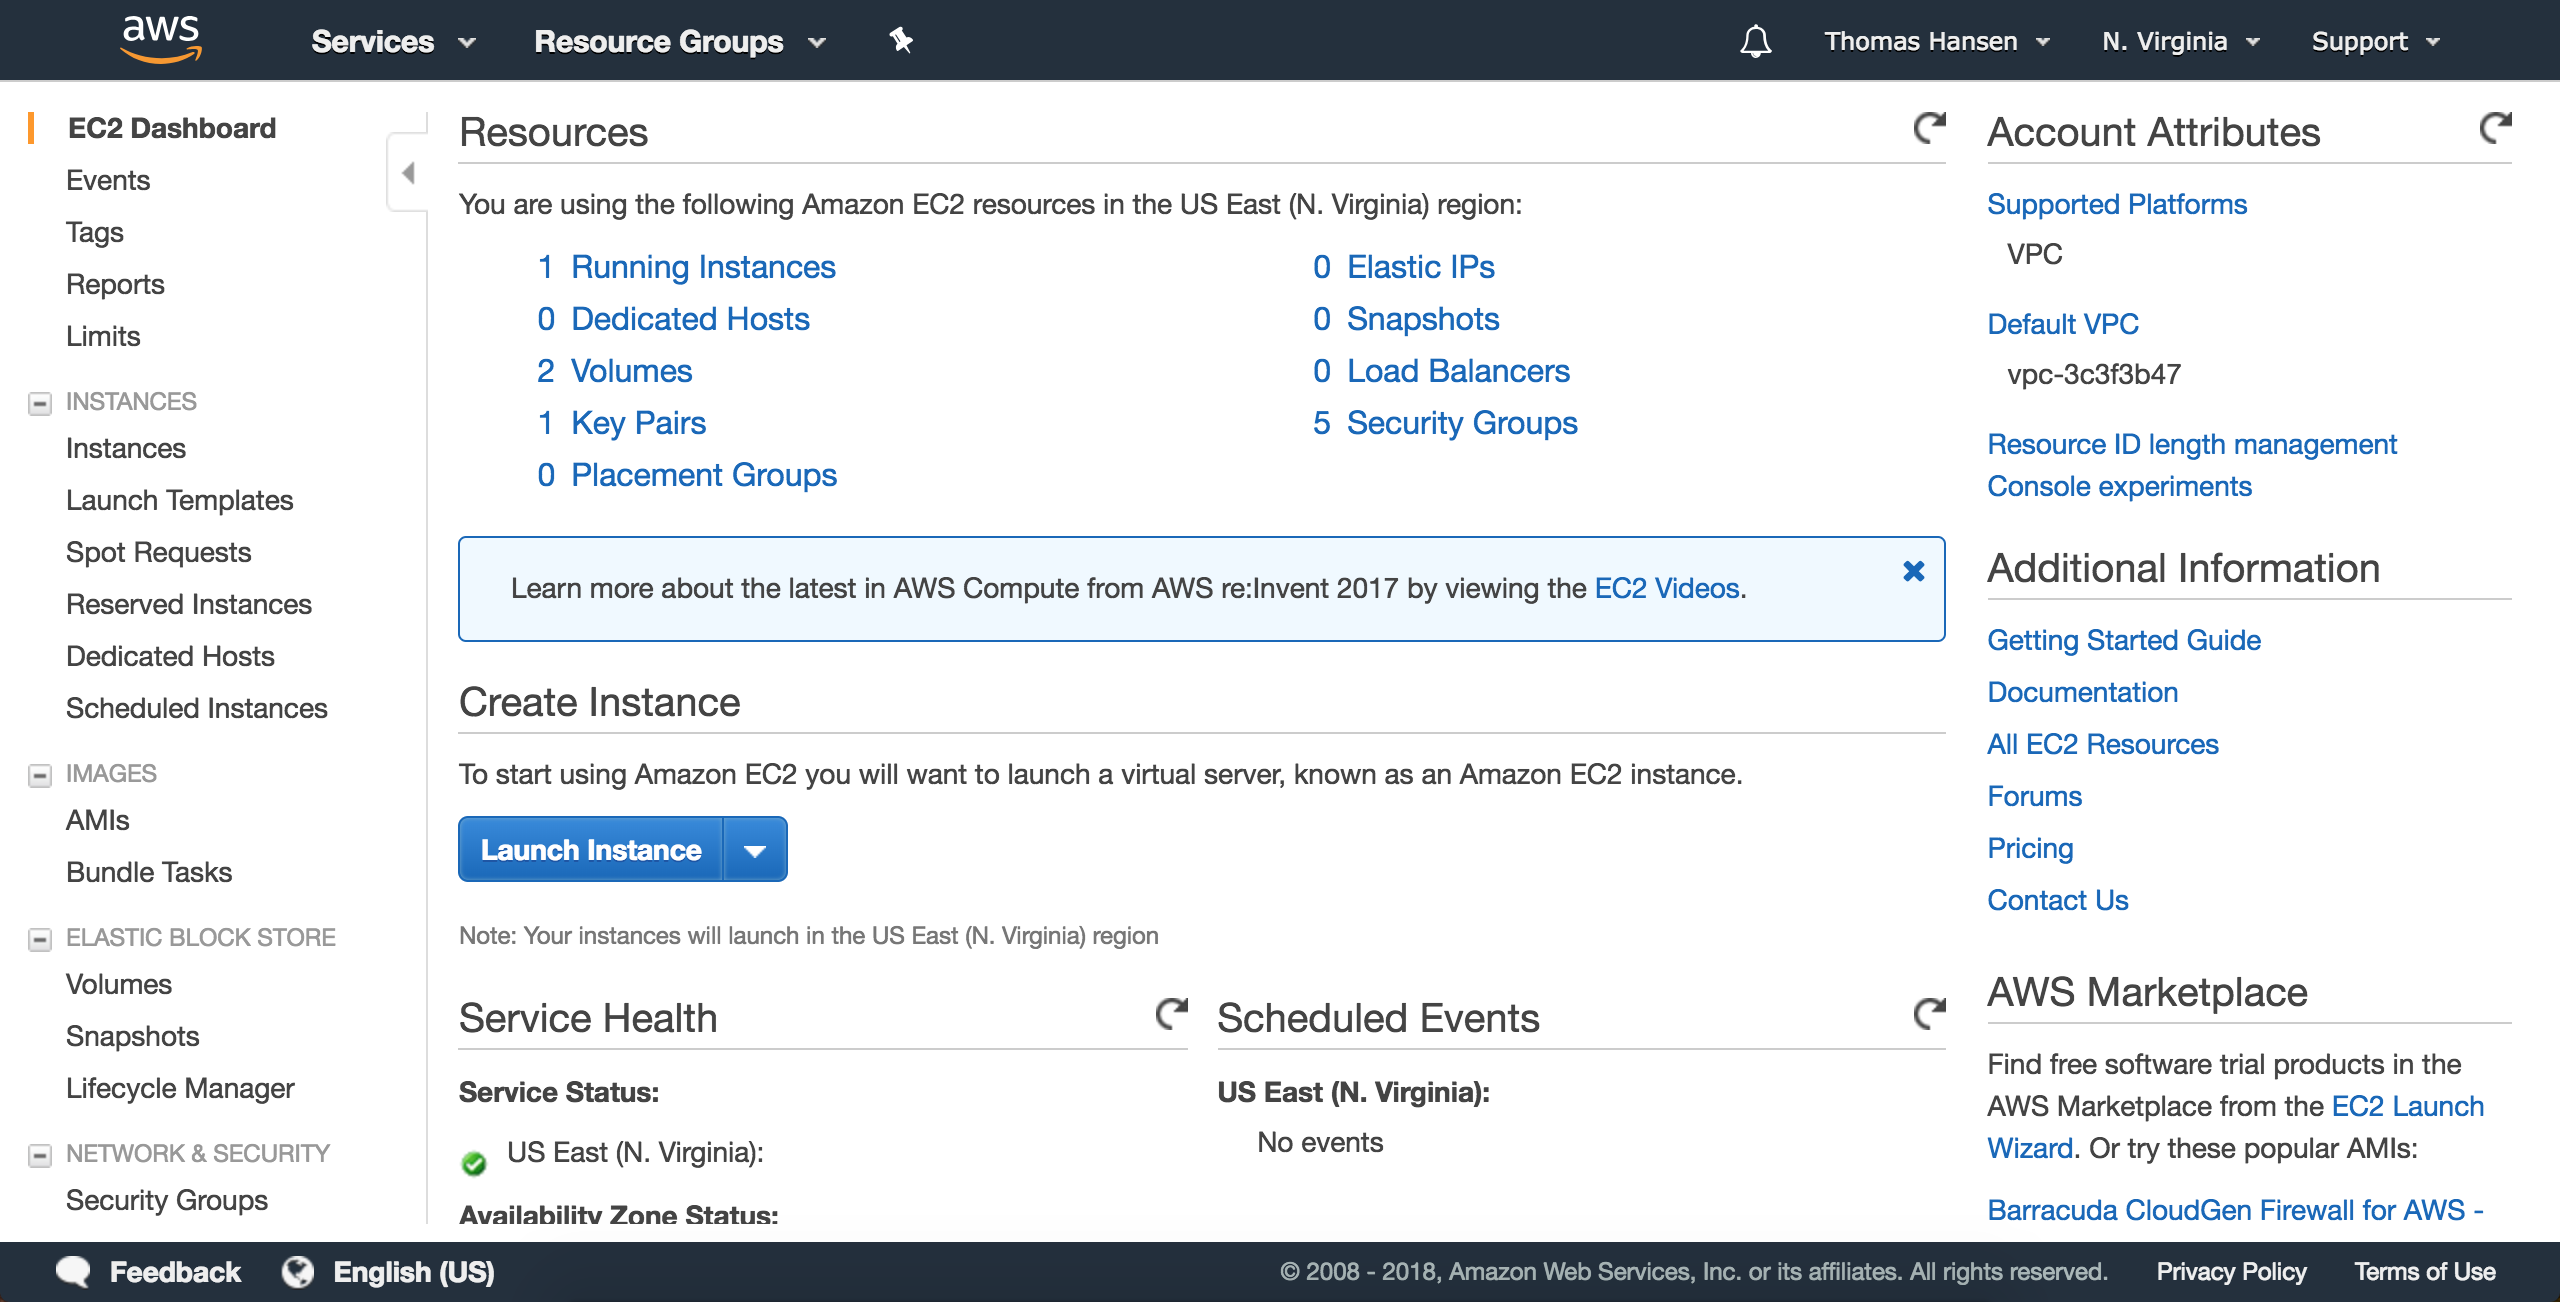
To set up an EC2 instance you must first create an AWS account and navigate to the EC2 instance page. For those who haven’t already created an account, there are a number of free tiers available, new members get a years worth of free hosting, and you can even often find free $100 allowances online sometimes. To create an instance you’ll want to click on the “launch instance” button on the EC2 page.
From here if you wanted to use your own AMI or another public one, you’d choose it to the left. However in our case we’ll want to use the 'Amazon Linux AMI', which is based off of centOS; this should be the one with Python, Java, and other dependencies installed. From here you may also choose whichever size you want, although if you’re just trying to figure things out I’d recommend the micro or nano.
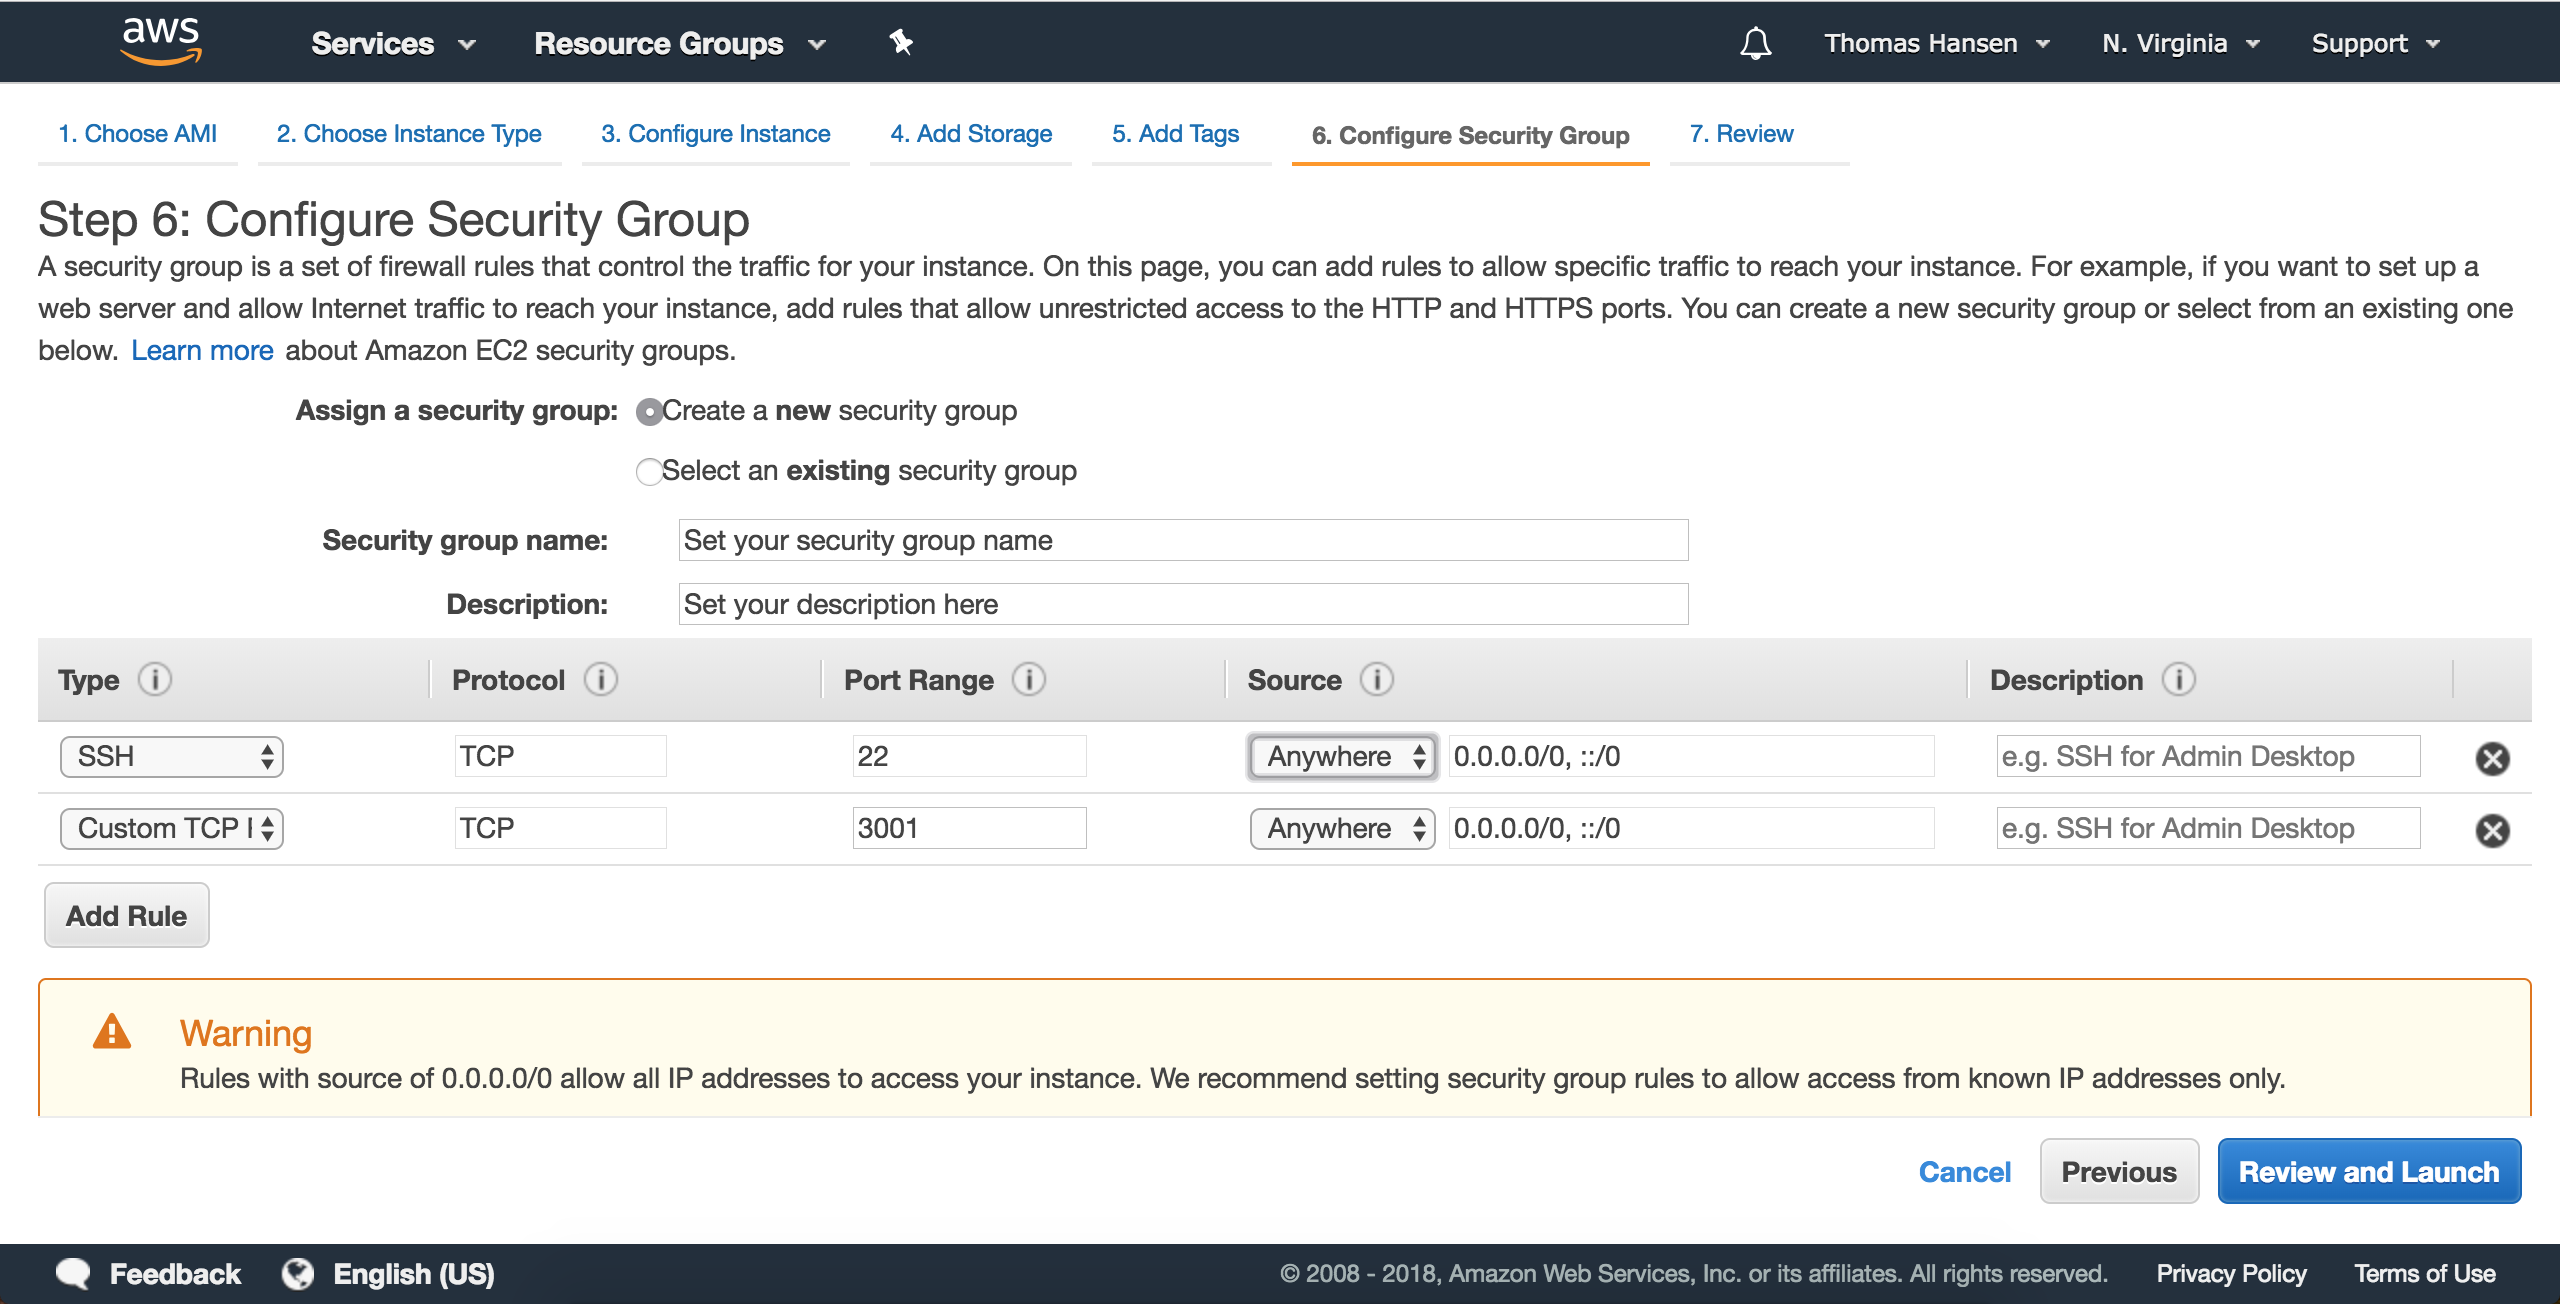
After selecting the instance size you’ll want to click next and navigate to the security group. You should rename the group, and then add a security group for accessing http requests from whatever port you want. (default for http is port 80, however I chose port 3001). Additionally in production you may want to restrict which IP addresses can access ssh, however you shouldn’t have to for a small scale site like this.
Once you create your instance it’ll give you a .pem file; you don’t want to lose this. It’s basically an encrypted password that can be used to log into the server and modify it. You’ll likely want to create one and then use that for your proceeding instances, especially if they’re under the same security group and are used for load balancing each other. A view of your new instances may look like this:
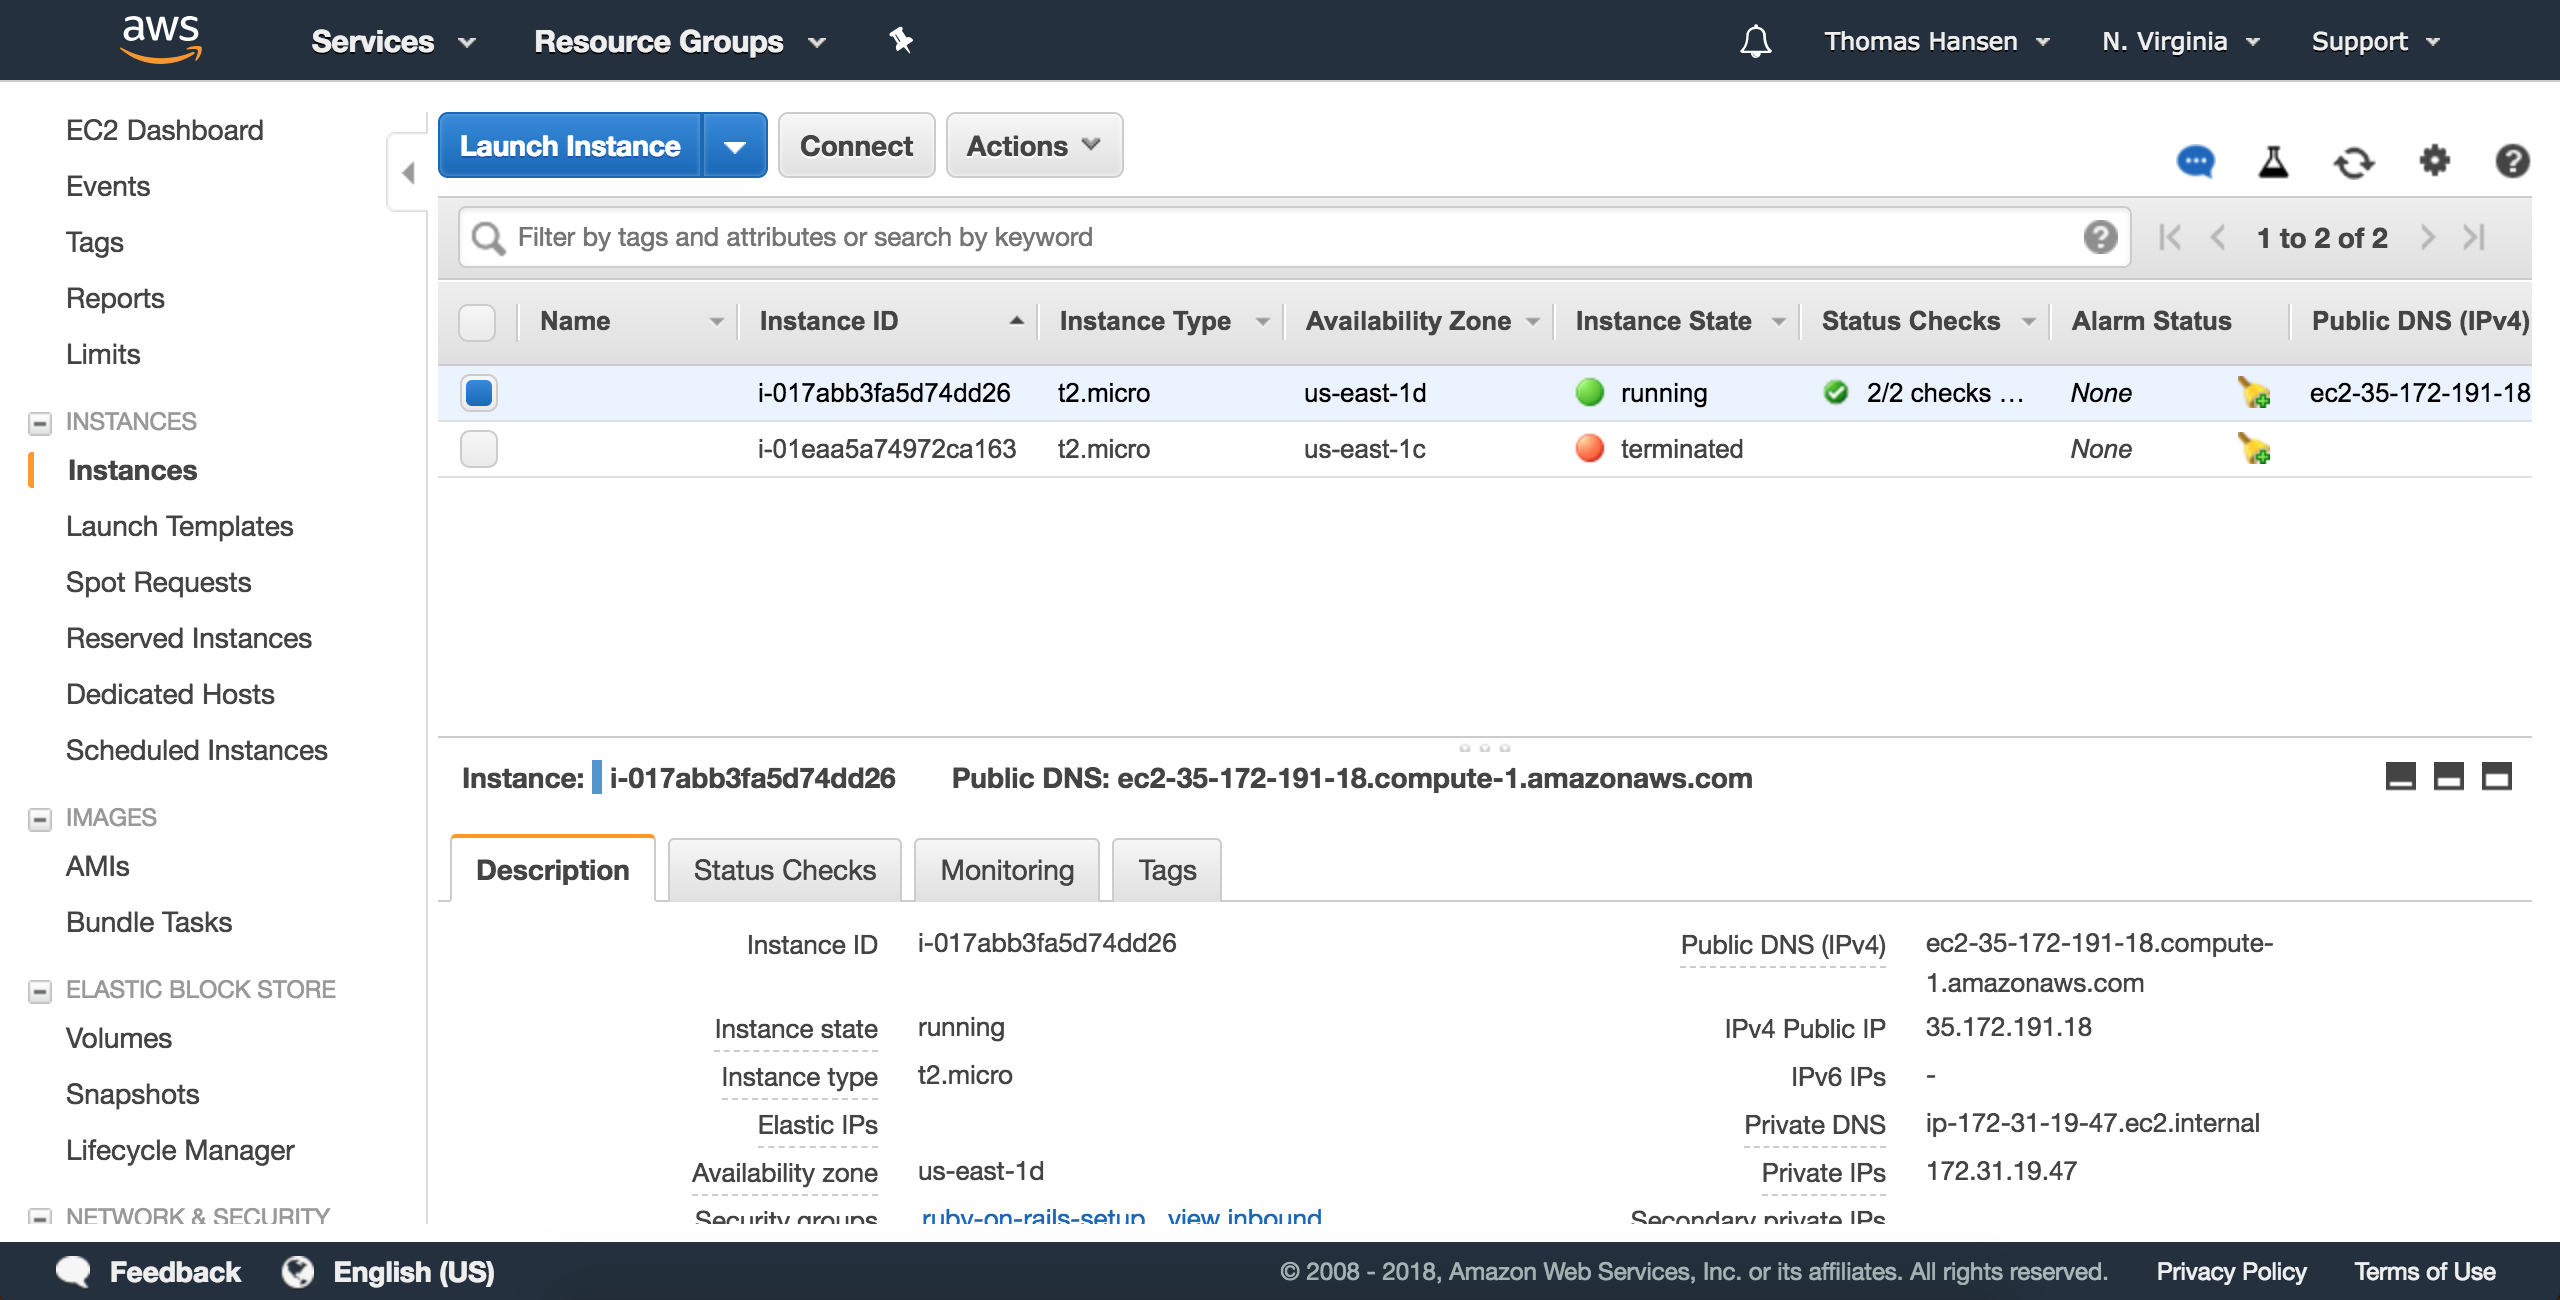
You also may notice the public IP address in the left corner of the screen (mine is 35.172.191.18). You’ll want to take note of that, as you’ll use it to ssh into your server as well as access the page through http before you route it to a proper url.
After you have set up your EC2 instance, you’ll want to grab its public IP address and use it to log into the server using SSH. If you’re on a Windows computer you may have to use putty, however if you’re on a mac it should be built in. Just run the command:
chmod 400 [.pem file location]
ssh -i ~/[.pem file location] ec2-user@[IP-address on site]
Or I’ve found using sudo also works.
sudo ssh -i ~/[.pem file location] ec2-user@[IP-address on site]You should now be in the server. Since we want to set up the server ourselves and avoid using an AMI, we’ll have to run all of the commands to set up the server ourselves. Overall this means we’ll have to install package dependencies, install rbenv to get ruby running, and then set up the web server. A really great guide I learned from was from here, however I wanted to go through it again with updates since many of the packages and environment details have continued to be updated since that article was released. Here are the commands you’ll want to run.
sudo yum updatesudo yum group install “Developer Tools”
sudo yum install -y git-core zlib zlib-devel gcc-c++ patch readline readline-devel libyaml-devel libffi-devel openssl-devel make bzip2 autoconf automake libtool bison curl sqlite-develOnce we install the dependencies, we’ll want to install rbenv and the most current version of ruby, in this case 2.5.1 however I would recommend using whatever is the newest version at the time. After installing rbenv you may also run “rbenv install -l” which will show you the available packages you can install.
yum group install "Development Tools”
git clone https://github.com/rbenv/rbenv.git ~/.rbenv
echo 'export PATH="$HOME/.rbenv/bin:$PATH"' >> ~/.bashrc
rbenv init
echo 'eval “$(rbenv init -)"' >> ~/.bashrc
exec $SHELL

git clone https://github.com/rbenv/ruby-build.git ~/.rbenv/plugins/ruby-build
echo 'export PATH="$HOME/.rbenv/plugins/ruby-build/bin:$PATH"' >> ~/.bashrc
exec $SHELL
source ~/.bash_profile

rbenv install 2.5.1
rbenv global 2.5.1
ruby -v
After running this you should see the current ruby version listed below. At this point we’ll want to install gems and set up rails. Since this is an EC2 instance and likely a production server, you may not want to download all of the docs, so in the home directory you may run
echo "gem: --no-document" > ~/.gemrcNow you can install your gems:
gem install bundlerAnd install rails. You’ll want to rehash rbenv after installing rails, however you likely won’t have to do it again after.
gem install rails -v 5.2.0
rbenv rehash
rails -v
This should print out the correct version of rails. We lastly need to install your javascript runtime, which you can do using nodejs as the runtime. Here we're using version 10, however as of 2018 version 8 will also work.
curl --silent --location https://rpm.nodesource.com/setup_10.x | sudo bash -
sudo yum install -y nodejs
sudo yum install gcc-c++ make
If you have trouble running your runtime environment later on with environments like therubyracer, I found swapping the gcc environments should get you up and running as well. For me the commands were:
sudo yum remove gcc48-c++
sudo yum install gcc72-c++
And your environment should be set up! Now you can always scp things into your EC2 instance however I found it’s often easier to clone the rails projects you plan to use. As a test you can always create a new rails project by running “rails new [projectname]”, or you can clone the project in your home directory by running “git clone [projecturl]”. You will want to change into that directory by running “cd [directoryName]” and then run the following commands:
bundle installAnd that should be it! You should have a working ruby on rails site, which you can now launch form the instance. You will launch the command by running
rails s -p 3001 -b 0.0.0.0And you can access it by going to [theInstancePublicIPAddr]:3001 (the public ip address should be the same one you used to ssh into the server). It should now be ready to run any rails app, and you should be able to see your landing page at the url.
You should now have a basic rails environment to run apps! For production, you’d additionally want to set up load balancing across multiple instances, and a proper database (although you have sqlite installed in this environment it is likely too slow and limiting for a proper site). Additionally there are services out there to help you manage setups such as Chief and many others. I hope you found this guide helpful!